Step-by-Step Guide to setting up free gift with purchase promotions on your Shopify store
APP SETUP
CREATE FREE GIFTS
HOW TO'S
PROMOTE YOUR FREE GIFT
GIFT INVENTORY
GIFT FRAUD
FAQS
TROUBLESHOOTING
Shopify doesn’t offer a built-in solution for automatically awarding gifts to customers who meet specific goals. That’s why we developed the Dr. Free Gift app—to fill this gap and make rewarding your customers seamless and effortless.
What You Will Learn in This Article:
Note: Follow this link for an end-to-end app configuration tutorial.
The process to set up a free gift promotion involves creating the necessary gift products, and then configuring the promotion rules which define what the customer needs to do in order to receive the gift.
1: How To Create a Gift Product
Navigate to the Gifts and Goals page and click Configure under the Manage Free Gifts section. Once on the configuration page, click Select a Product to start setting up your gift.
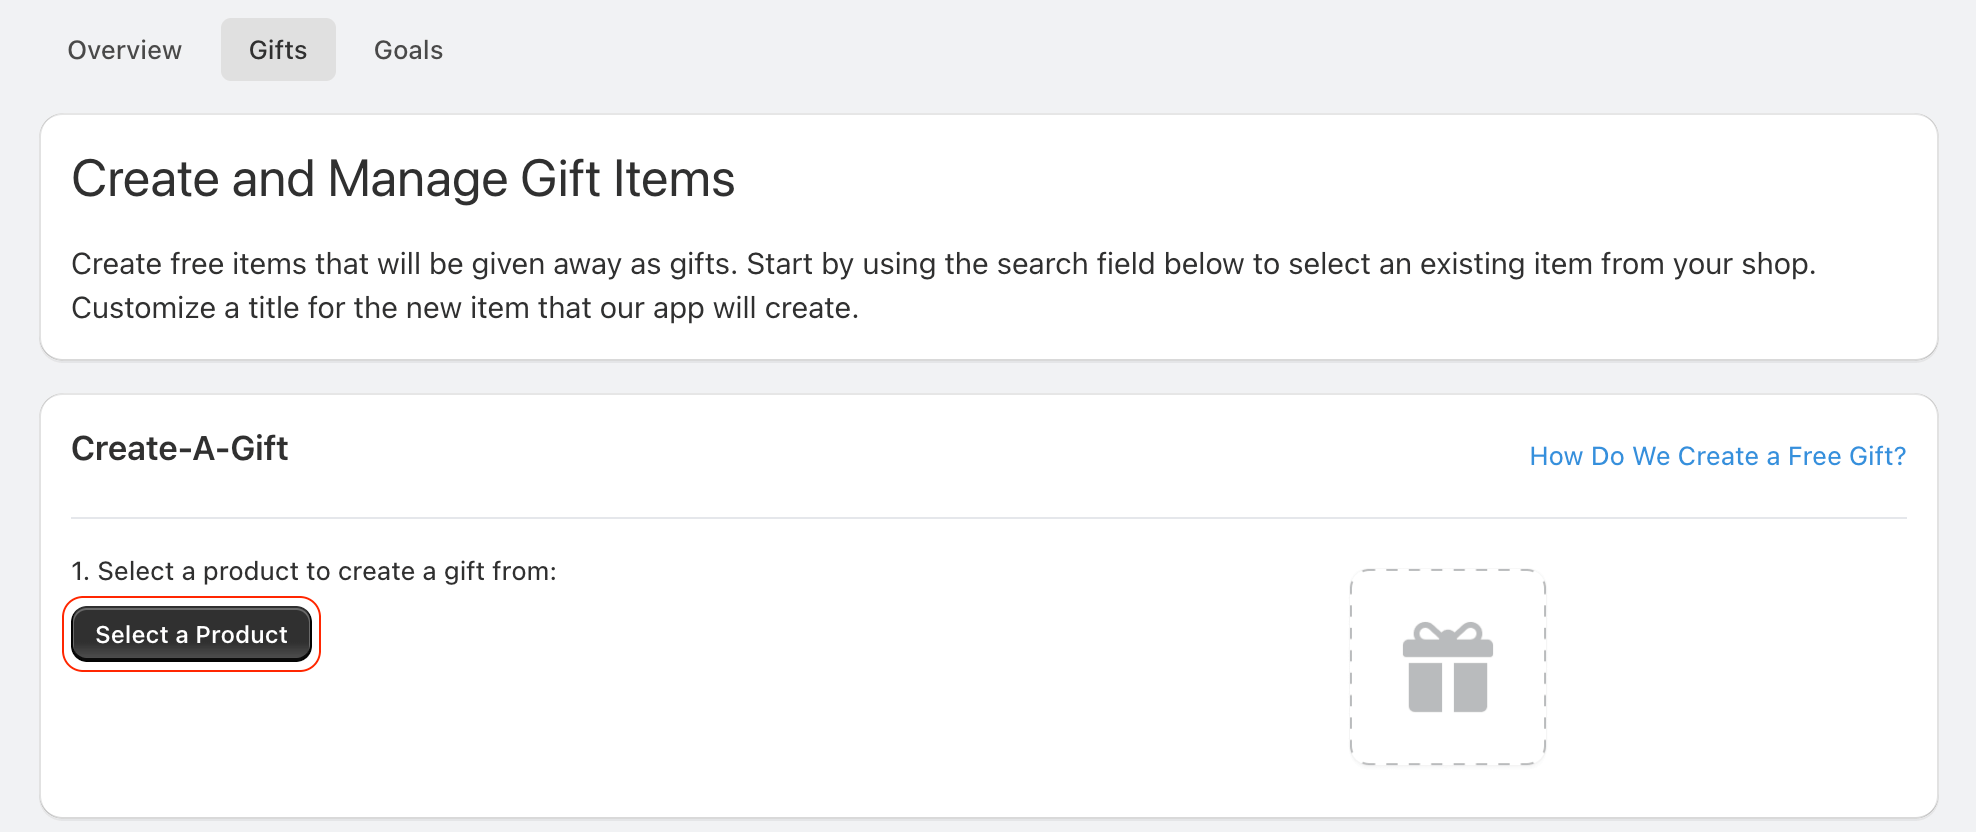
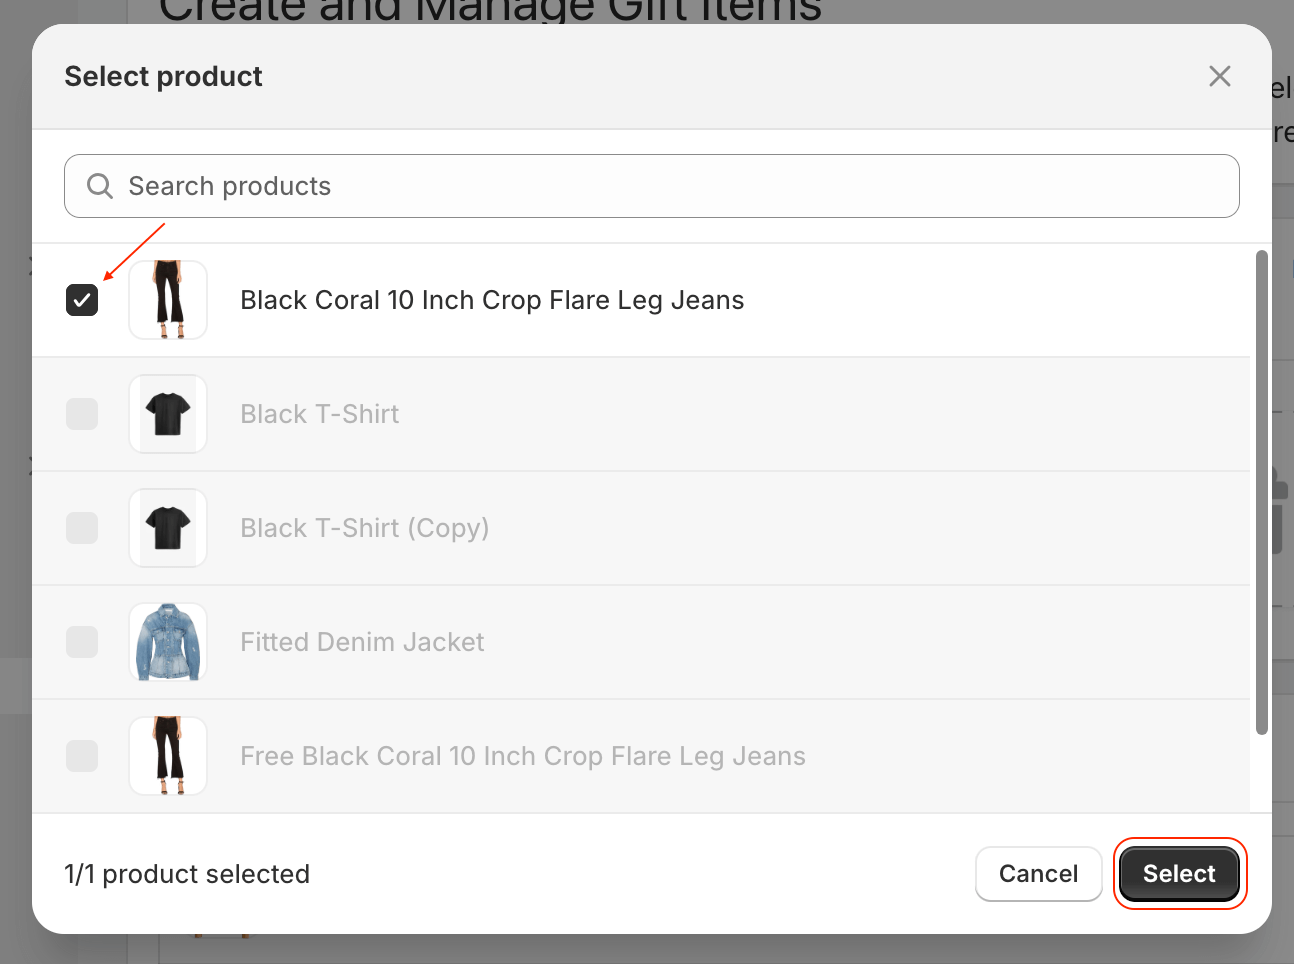
After clicking Select a Product, choose the product you want the app to copy to create your free gift. Once selected, click Select to confirm your choice.
At this stage, you can customize the title of your gift to make it more appealing or descriptive. Once you’re satisfied, click Create Free Gift.
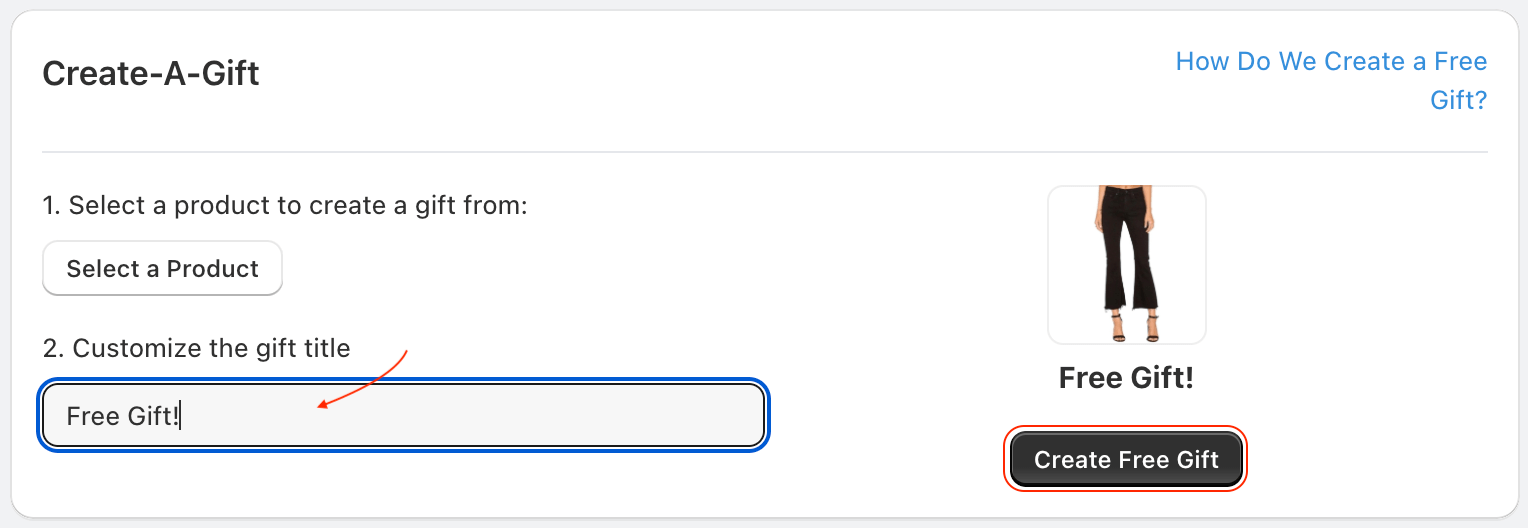
It may take a few minutes for Shopify to complete the gift creation process, depending on the number of variants in the original product. Once the gift is created, you can modify it in the Shopify Products admin just like any other product.
2: How to Set Up a Gift Goal
Once your gift is created, switch to the Goals tab on the Gifts and Goals page. To begin, click the New Goal button in the Free Gift Goals section.
Step 1: Set a Goal Name
Start by giving your goal a name that clearly communicates what the customer will receive when they meet the goal. This name will be displayed in the app’s promotional widgets, such as the Progress Bar, Gift Goal Modal, and Slider, ensuring customers understand their reward.

Step 2: Configure the Goal’s Target
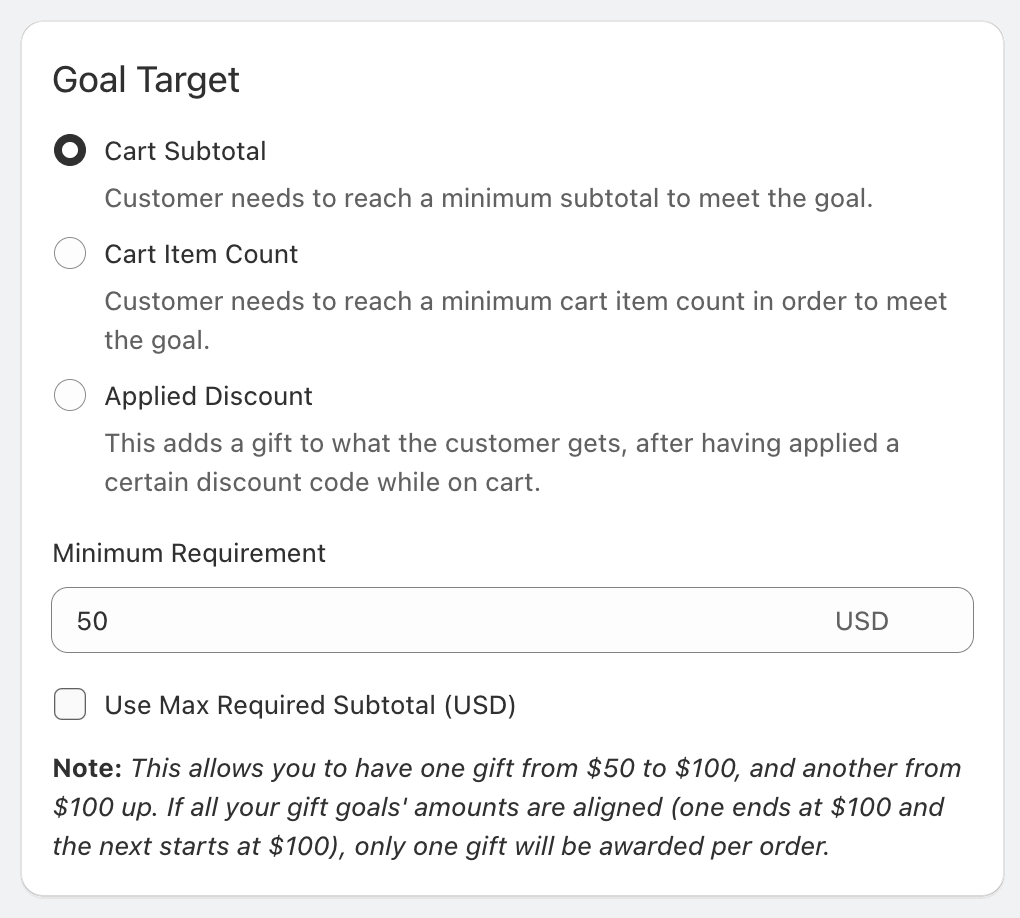
Set the target for your goal by choosing one of the following prerequisites:
- Subtotal: Award a gift based on the cart’s minimum subtotal.
- Item Count: Trigger the gift when the cart contains a minimum number of items.
- Discount Applied: Use the presence of a specific discount applied to the cart as the condition.
You can also define a maximum subtotal or item count, which is helpful for creating tiered goals.
For example, you can set up:
- A smaller gift for carts below the maximum threshold.
- A larger gift for carts exceeding the threshold, automatically removing the smaller gift from the cart.
This allows you to tailor rewards based on spending or cart size while keeping the process seamless for customers.
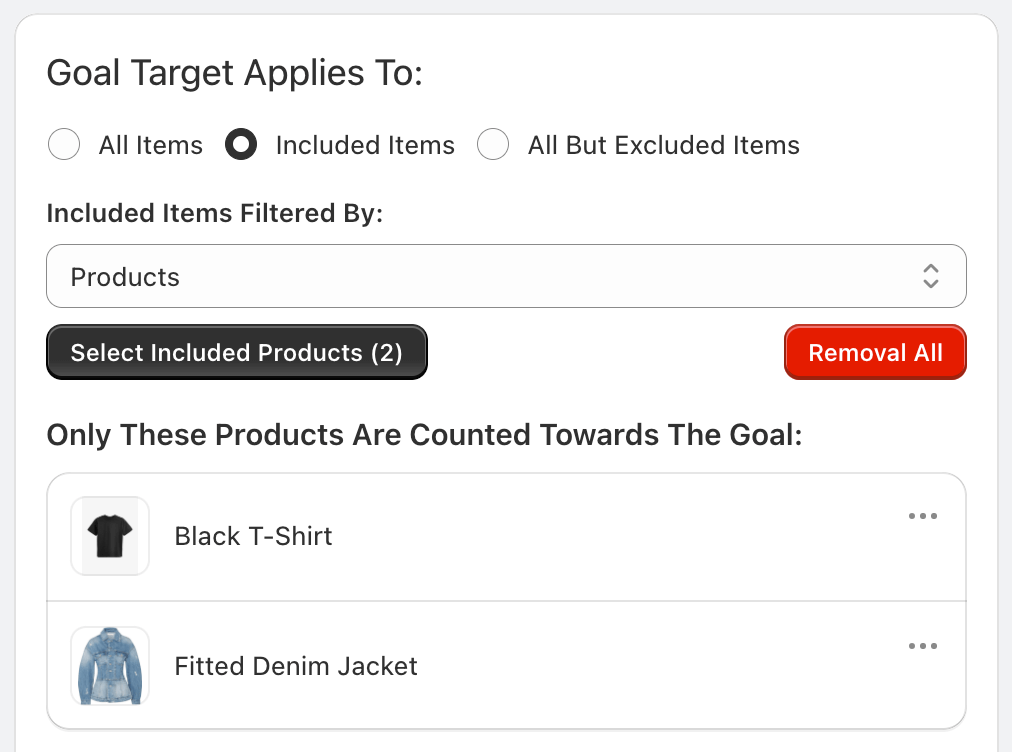
Step 3: Define Eligible Products
Choose which products will count toward the goal. By default, All Products are included, but you can customize this by:
- Including specific variants, products, or collections.
- Excluding certain variants, products, or collections.
This flexibility allows you to tailor the goal to align with your shop’s promotions and strategies.
Step 4: Define the Gift(s) and Delivery Method
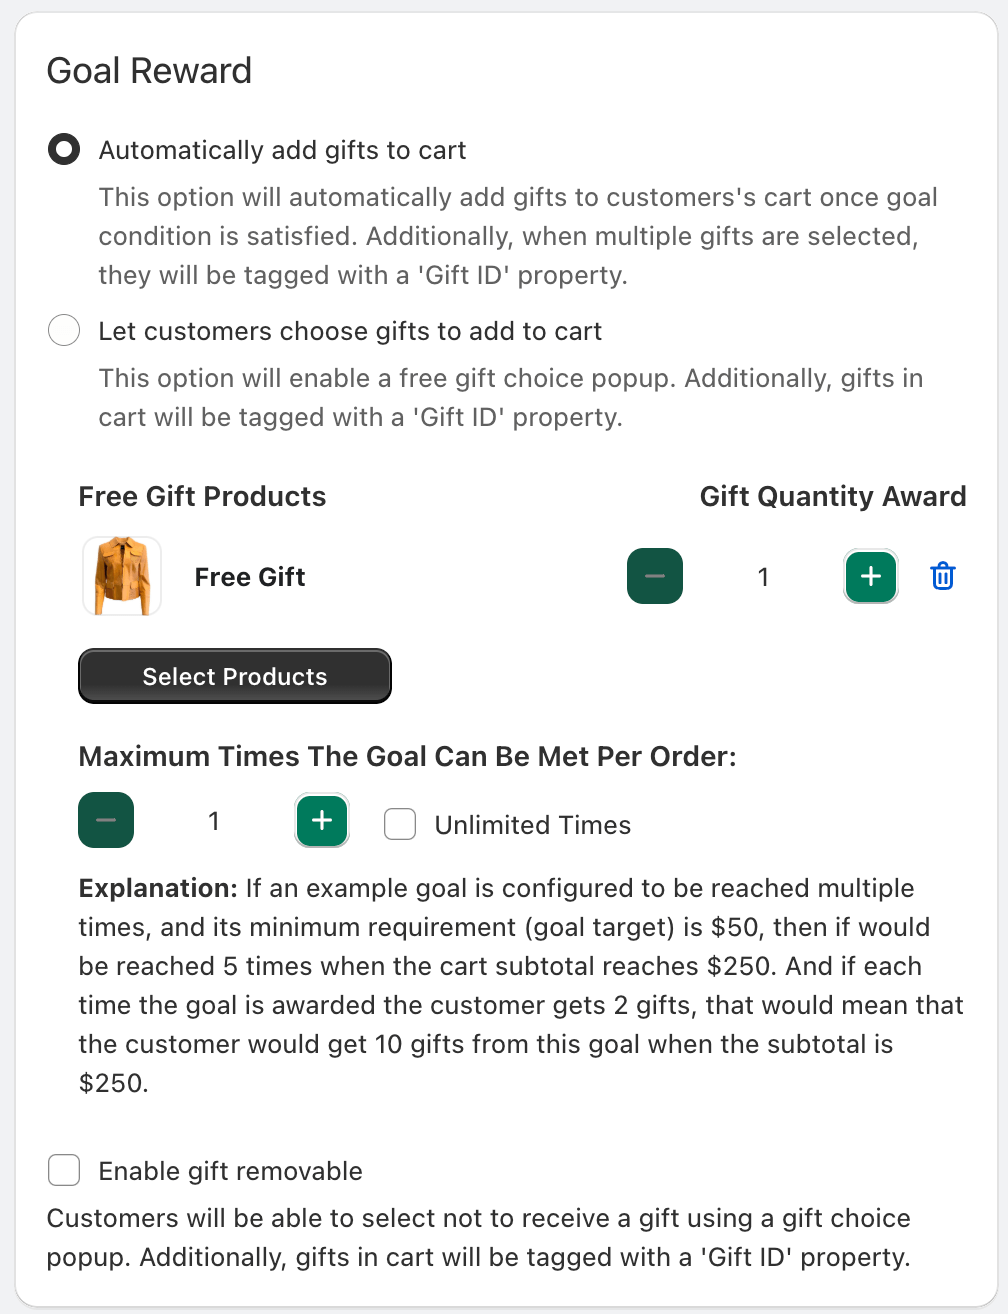
Next, specify what the customer will receive once they reach the goal. You can select one or more of the gift products you created earlier.
You also have the option to:
- Automatically add the gifts to the cart.
- Allow the customer to choose from a list of available gifts and variants.
Additionally, you can configure:
- Quantity: How many gifts will be awarded each time the goal is met.
- Goal Repetition: How many times the goal can be reached within a single order.
If you’ve opted to let the customer select their gift(s), you can set the total number of gifts awarded when the goal is met. For automatically added gifts, you can specify the quantity of each gift product that will be awarded.
If you’ve selected automatically added gifts, you can also choose whether to give the customer the ability to decline or remove one or more of the gifts they’ve been awarded.
Step 5: Configure Promotional Messages
In this section, you can configure the different versions of the promotional message that will be displayed in the app’s widgets for this goal. The messages include:
- A version for when the cart is still empty.
- A version for when items are added, but the goal hasn’t been met yet.
- A final version for when the goal is reached.
Additionally, if you’re using a count-based goal, you can set a distinct version of the message for when only one item is left before the goal is met. This ensures the wording is appropriate for both singular and plural contexts.
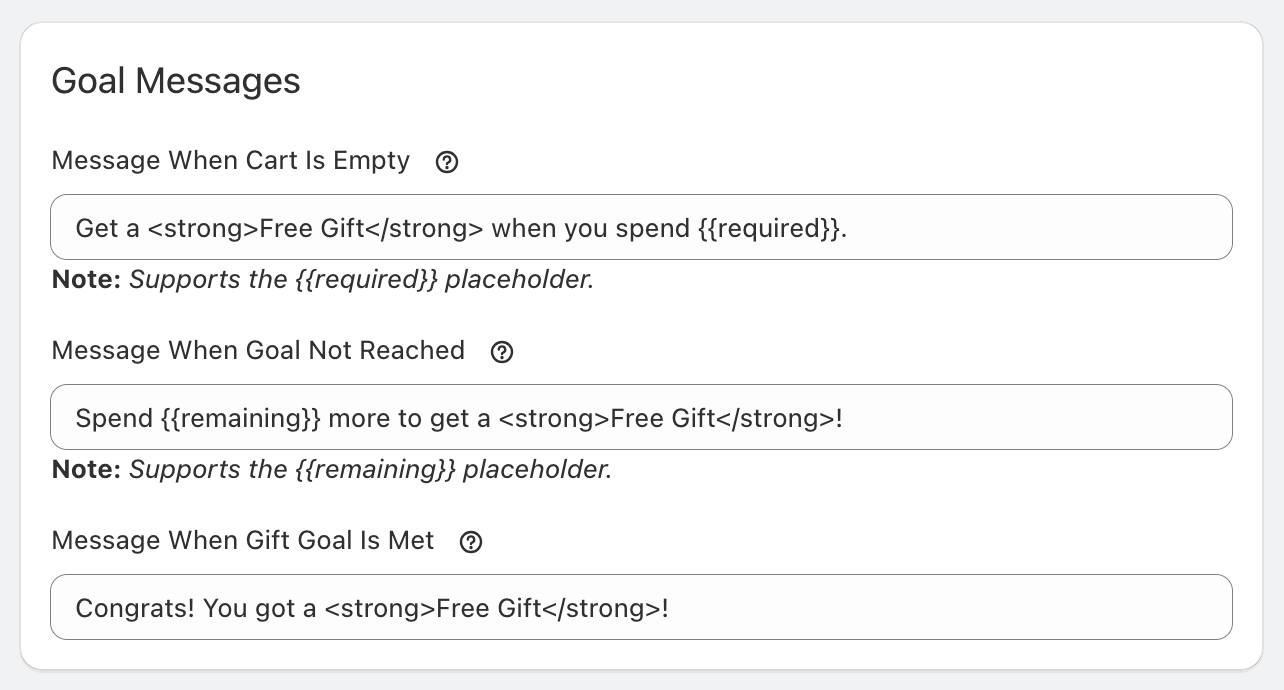
- The empty cart message can display the goal’s minimum using the {{required}} placeholder.
- The unmet goal message can use the {{remaining}} placeholder to show how much is left until the goal is reached.
Step 6: Goal Schedule
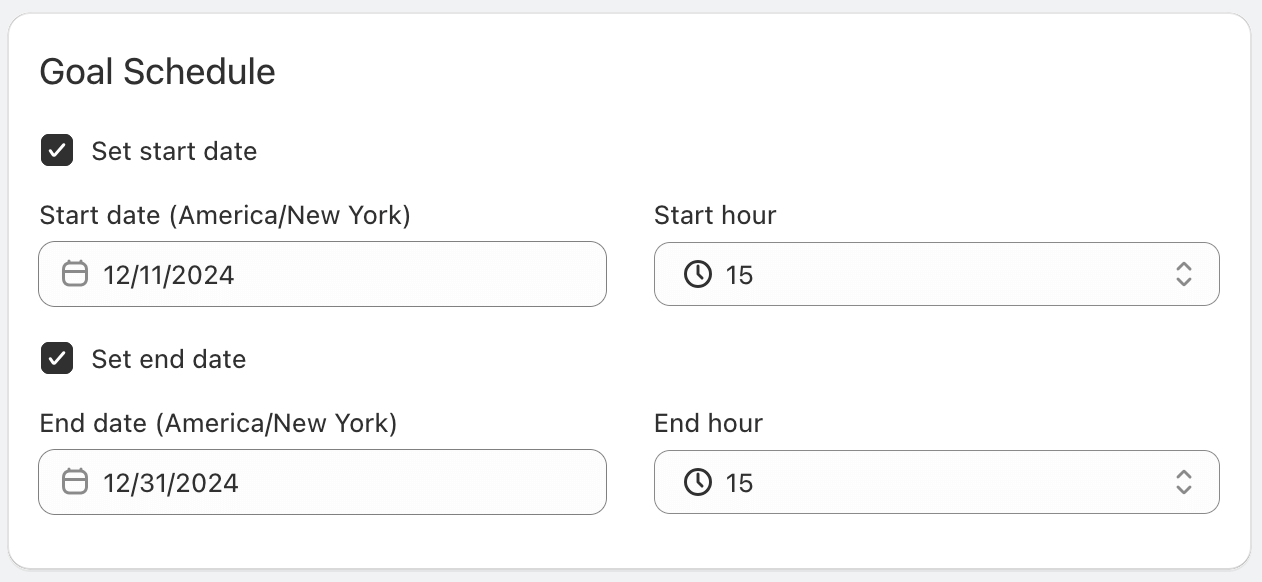
In the Goal Schedule section, you can set the start and end dates for the goal. The app allows you to select both the start date and start hour.
While the schedule is configured based on your current timezone, if your shop’s default timezone differs, the start and end date and time will also be displayed in your shop’s local timezone under the inputs for your convenience.
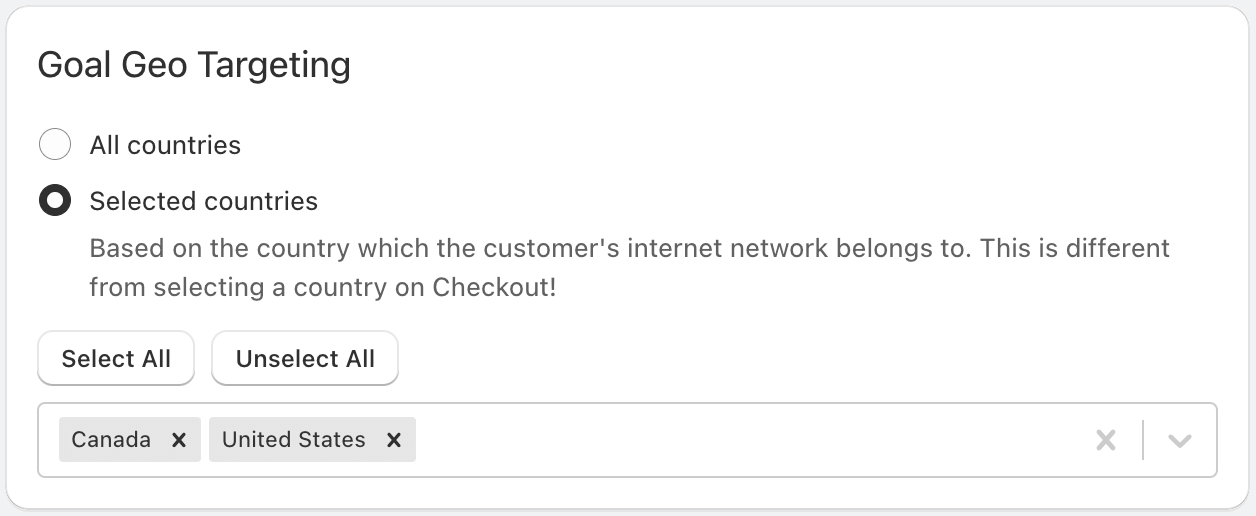
Step 7: Geo-targeting
By default, your goal will be active for all customers. However, you can choose to activate it only for specific countries.
It’s important to note that the app determines the customer’s country based on their IP address, not the shipping address registered to their account. This is because the app awards gifts while the customer has not reached Checkout, which usually happens before the user logs in or provides a shipping address.
Please be aware that once the Checkout page has loaded, the app cannot modify the gifts in the cart. Therefore, even if a customer selects an ineligible country at checkout, the app will not be able to remove the gift.
Step 8: Save the Goal
Once you’ve configured all the settings, click the Save button at the top of the page to finalize and save your goal.
As long as the app is active and you’ve set the new goal to be active, your customers will now see it as one of the available promotions in your shop.
To learn more about how to promote this goal effectively, check out our comprehensive tutorial on the full app configuration.
